Set firewall rule
Log in to your host cloud service provider, open the following firewall inbound rules:Type IpProtocol Port IpRanges Usage Inbound/Ingress TCP & UDP 30303 0.0.0.0/0 Geth/Nethermind/Besu/Erigon p2p Inbound/Ingress TCP & UDP 9000 0.0.0.0/0 Lighthouse p2p Inbound/Ingress TCP 5052 Internal Operator - Lighthouse Inbound/Ingress TCP 8551 Internal Lighthouse - Geth/Nethermind/Besu/Erigon Inbound/Ingress TCP 26000 0.0.0.0/0 hotstuff consensus Inbound/Ingress TCP 26001 0.0.0.0/0 hotstuff consensus Inbound/Ingress TCP 26002 0.0.0.0/0 hotstuff consensus Inbound/Ingress TCP 26003 0.0.0.0/0 When aggregating signatures, operator nodes use this port to request signature from each other Inbound/Ingress UDP 26004 0.0.0.0/0 Node discovery Inbound/Ingress TCP 26005 0.0.0.0/0 DKG port, which will listen only when DKG is triggered. By default, the port won’t listen. SSH Login to your server
Install Docker and Docker compose
Enable docker service and start it immediately.
Create local volume directory
Generate your jwt secret to jwt directory
Clone operator code from Github
Running Geth/Nethermind/Besu/Erigon & Lighthouse Service
NOTE: This step is to provide a quick way to setup and run the execution client and consensus client of goerli testnet. If you already have a node running execution client and consensus client, you can skip this step.NOTE: Remember to open the 5052 firewall port for this hostSyncing data may take several hours. You can use the command to see the latest logs of lighthouse to check if the data is synced:Once the data is synced, you will see output like below:or you can use this command to check if lighthouse is synced:if the output shows {“data”:“Synced”}, it means it is already synced.Edit local environment variables
Now that we have open the .env file, we will update the values based on our own configuration.Leave these variables unchanged now:Update these variables with yoursWS_URL= #YOUR Infura WSS URLBEACON_NODE_ENDPOINT= # The beacon node endpoint. Depending on whether you are running single-node mode or multi-node mode, fill in the correct Lighthouse beacon node service url, e.g. http://127.0.0.1:5052 for a local nodeFor BEACON_NODE_ENDPOINT, if you follow the previous step to run Geth/Nethermind/Besu/Erigon and Lighthouse and you want operator runs on the same machine, then you can use a local IP:BEACON_NODE_ENDPOINT=http://127.0.0.1:5052Otherwise, suppose the host where you run the Lighthouse & Geth/Nethermind/Besu/Erigon service has an IP 12.102.103.1, then you can set:BEACON_NODE_ENDPOINT=http://12.102.103.1:5052Generate a registration public and private key
Output:Save the public key, which will be used later. Or you can find the public key in the “name” field of the file /data/operator/v1/prater/node_key.jsonGo to SafeStake website:
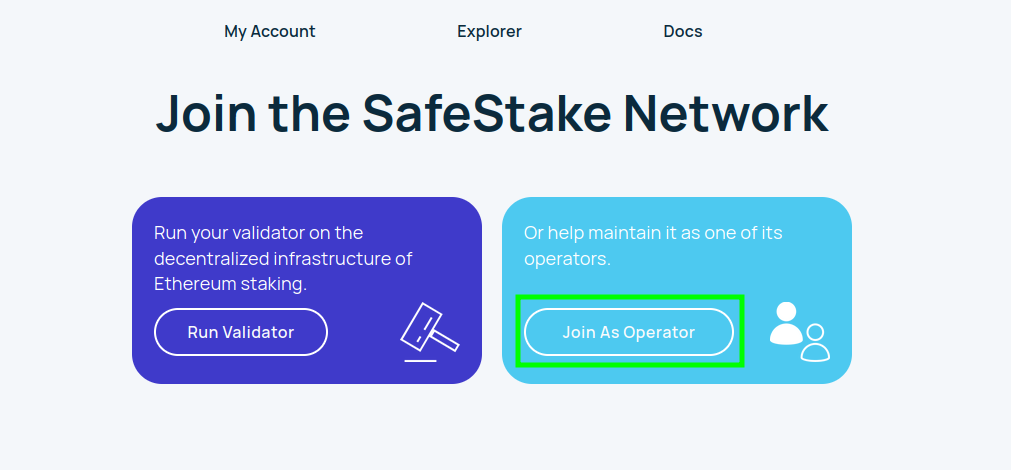
- Click “Join As Operator”.
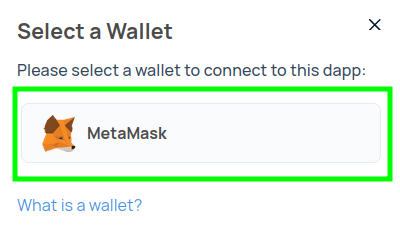
- Select a wallet where you have enough goerli testnet token to pay minimum fee to sign a transaction.
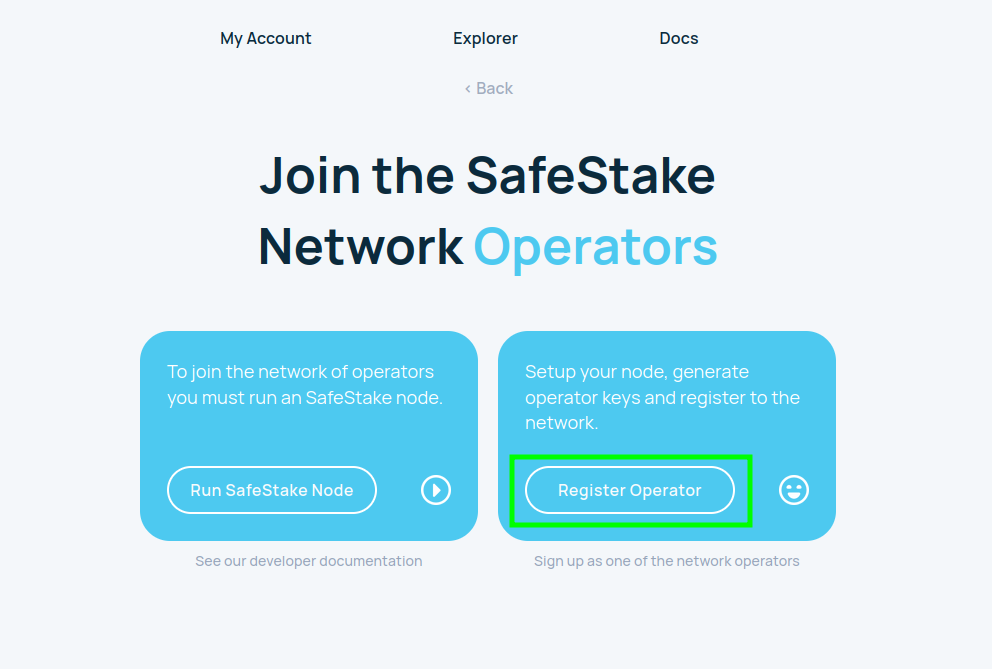
- After you connect your wallet, click “Register Operator”
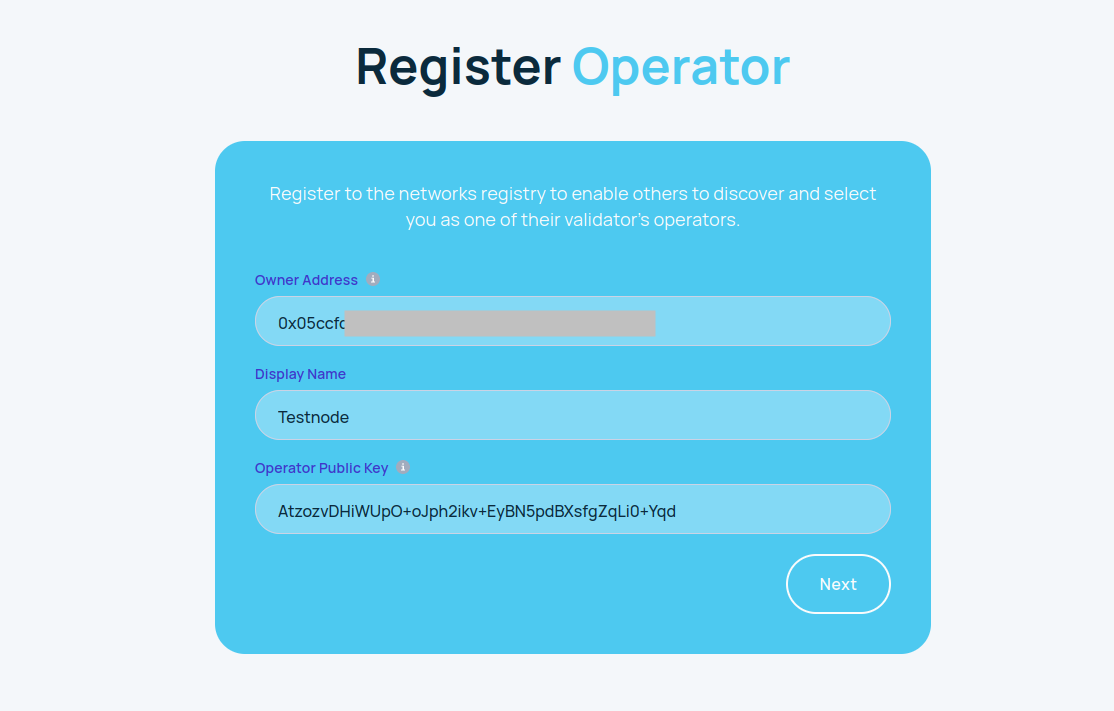
- Your wallet address is auto filled. You need to enter the “Display Name” for your node and the “Operator Public Key” got from the previous step. Then click “Next”.
- Click “Register Operator”

- Wallet extension page will pop out. You need to click “Confirm” to sign the transaction.
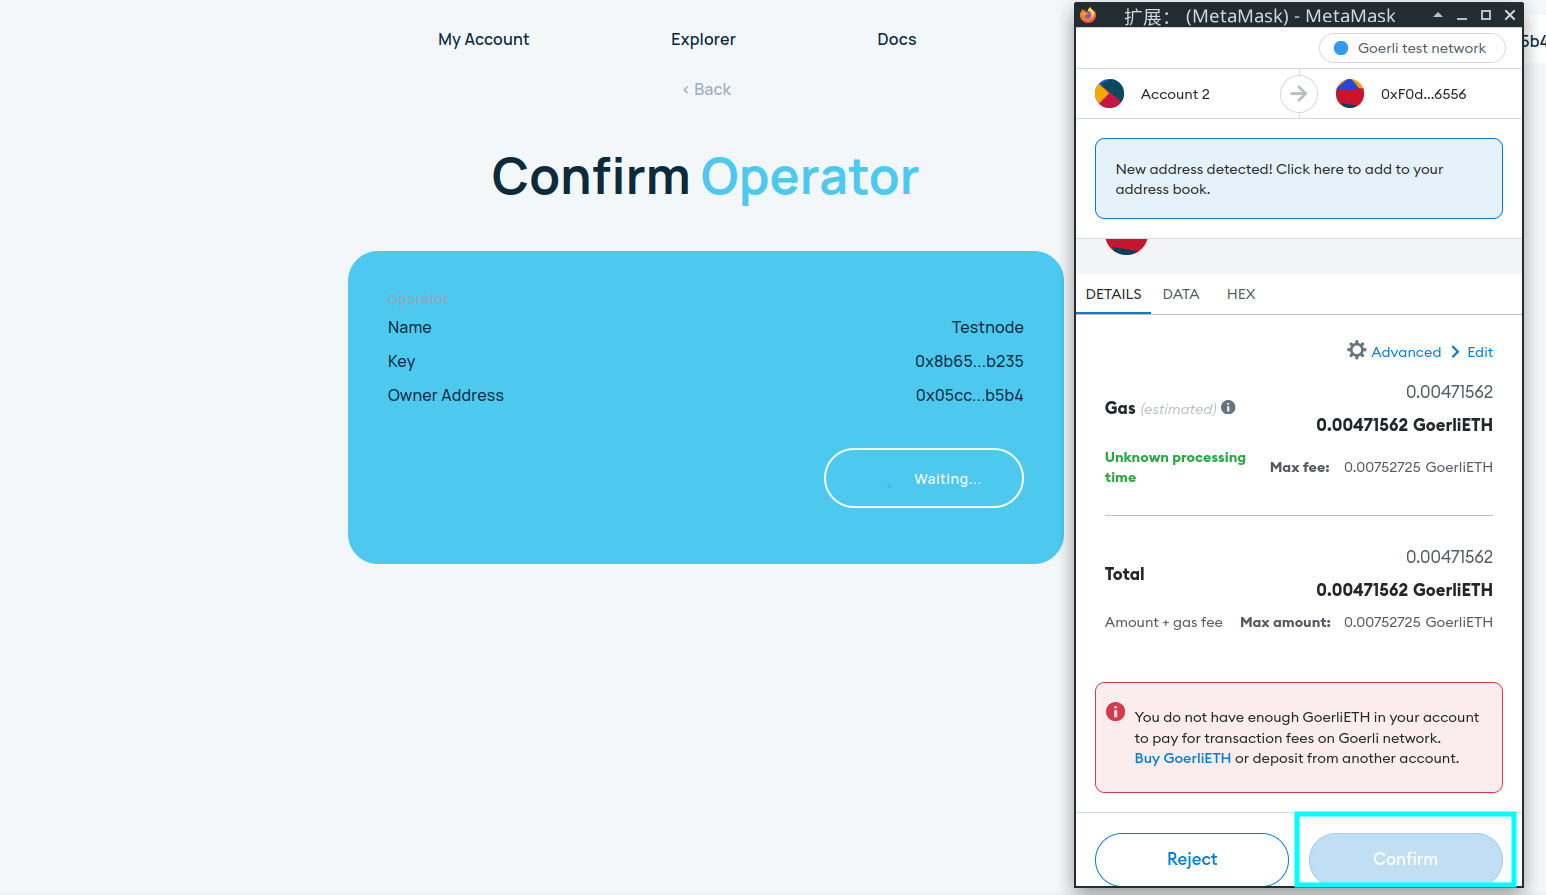
Edit local environment variables for OPERATOR_ID
Start operator service
Congratulations, now the Operator program has been installed and deployed.
DVT
Native delegation for SafeStake with MEV Plus
Running MEV Plus alongside the SafeStake Operator is similar to running
it with a normal Ethereum node. If you haven’t already tried running MEV
Plus this tutorial should help you get started in getting set up for
native delegation.
Once the node and the MEV Plus service is running, it boils down to
correctly configuring a SafeStake Operator. This tutorial goes through
the step by step process of installing and running a SafeStake Operator
on Goerli testnet.
output
It is a good practice to back up your operator private key file
Keep it safe and put it in a safe place!
/data/operator/v1/prater/node_key.json
Your SafeStake Operator Node is now configured
then you may go to SafeStake website to register a validator and then
choose your operator.